2 minuti di lettura
DIY: make your own moss pole and let your climbing plant thrive!
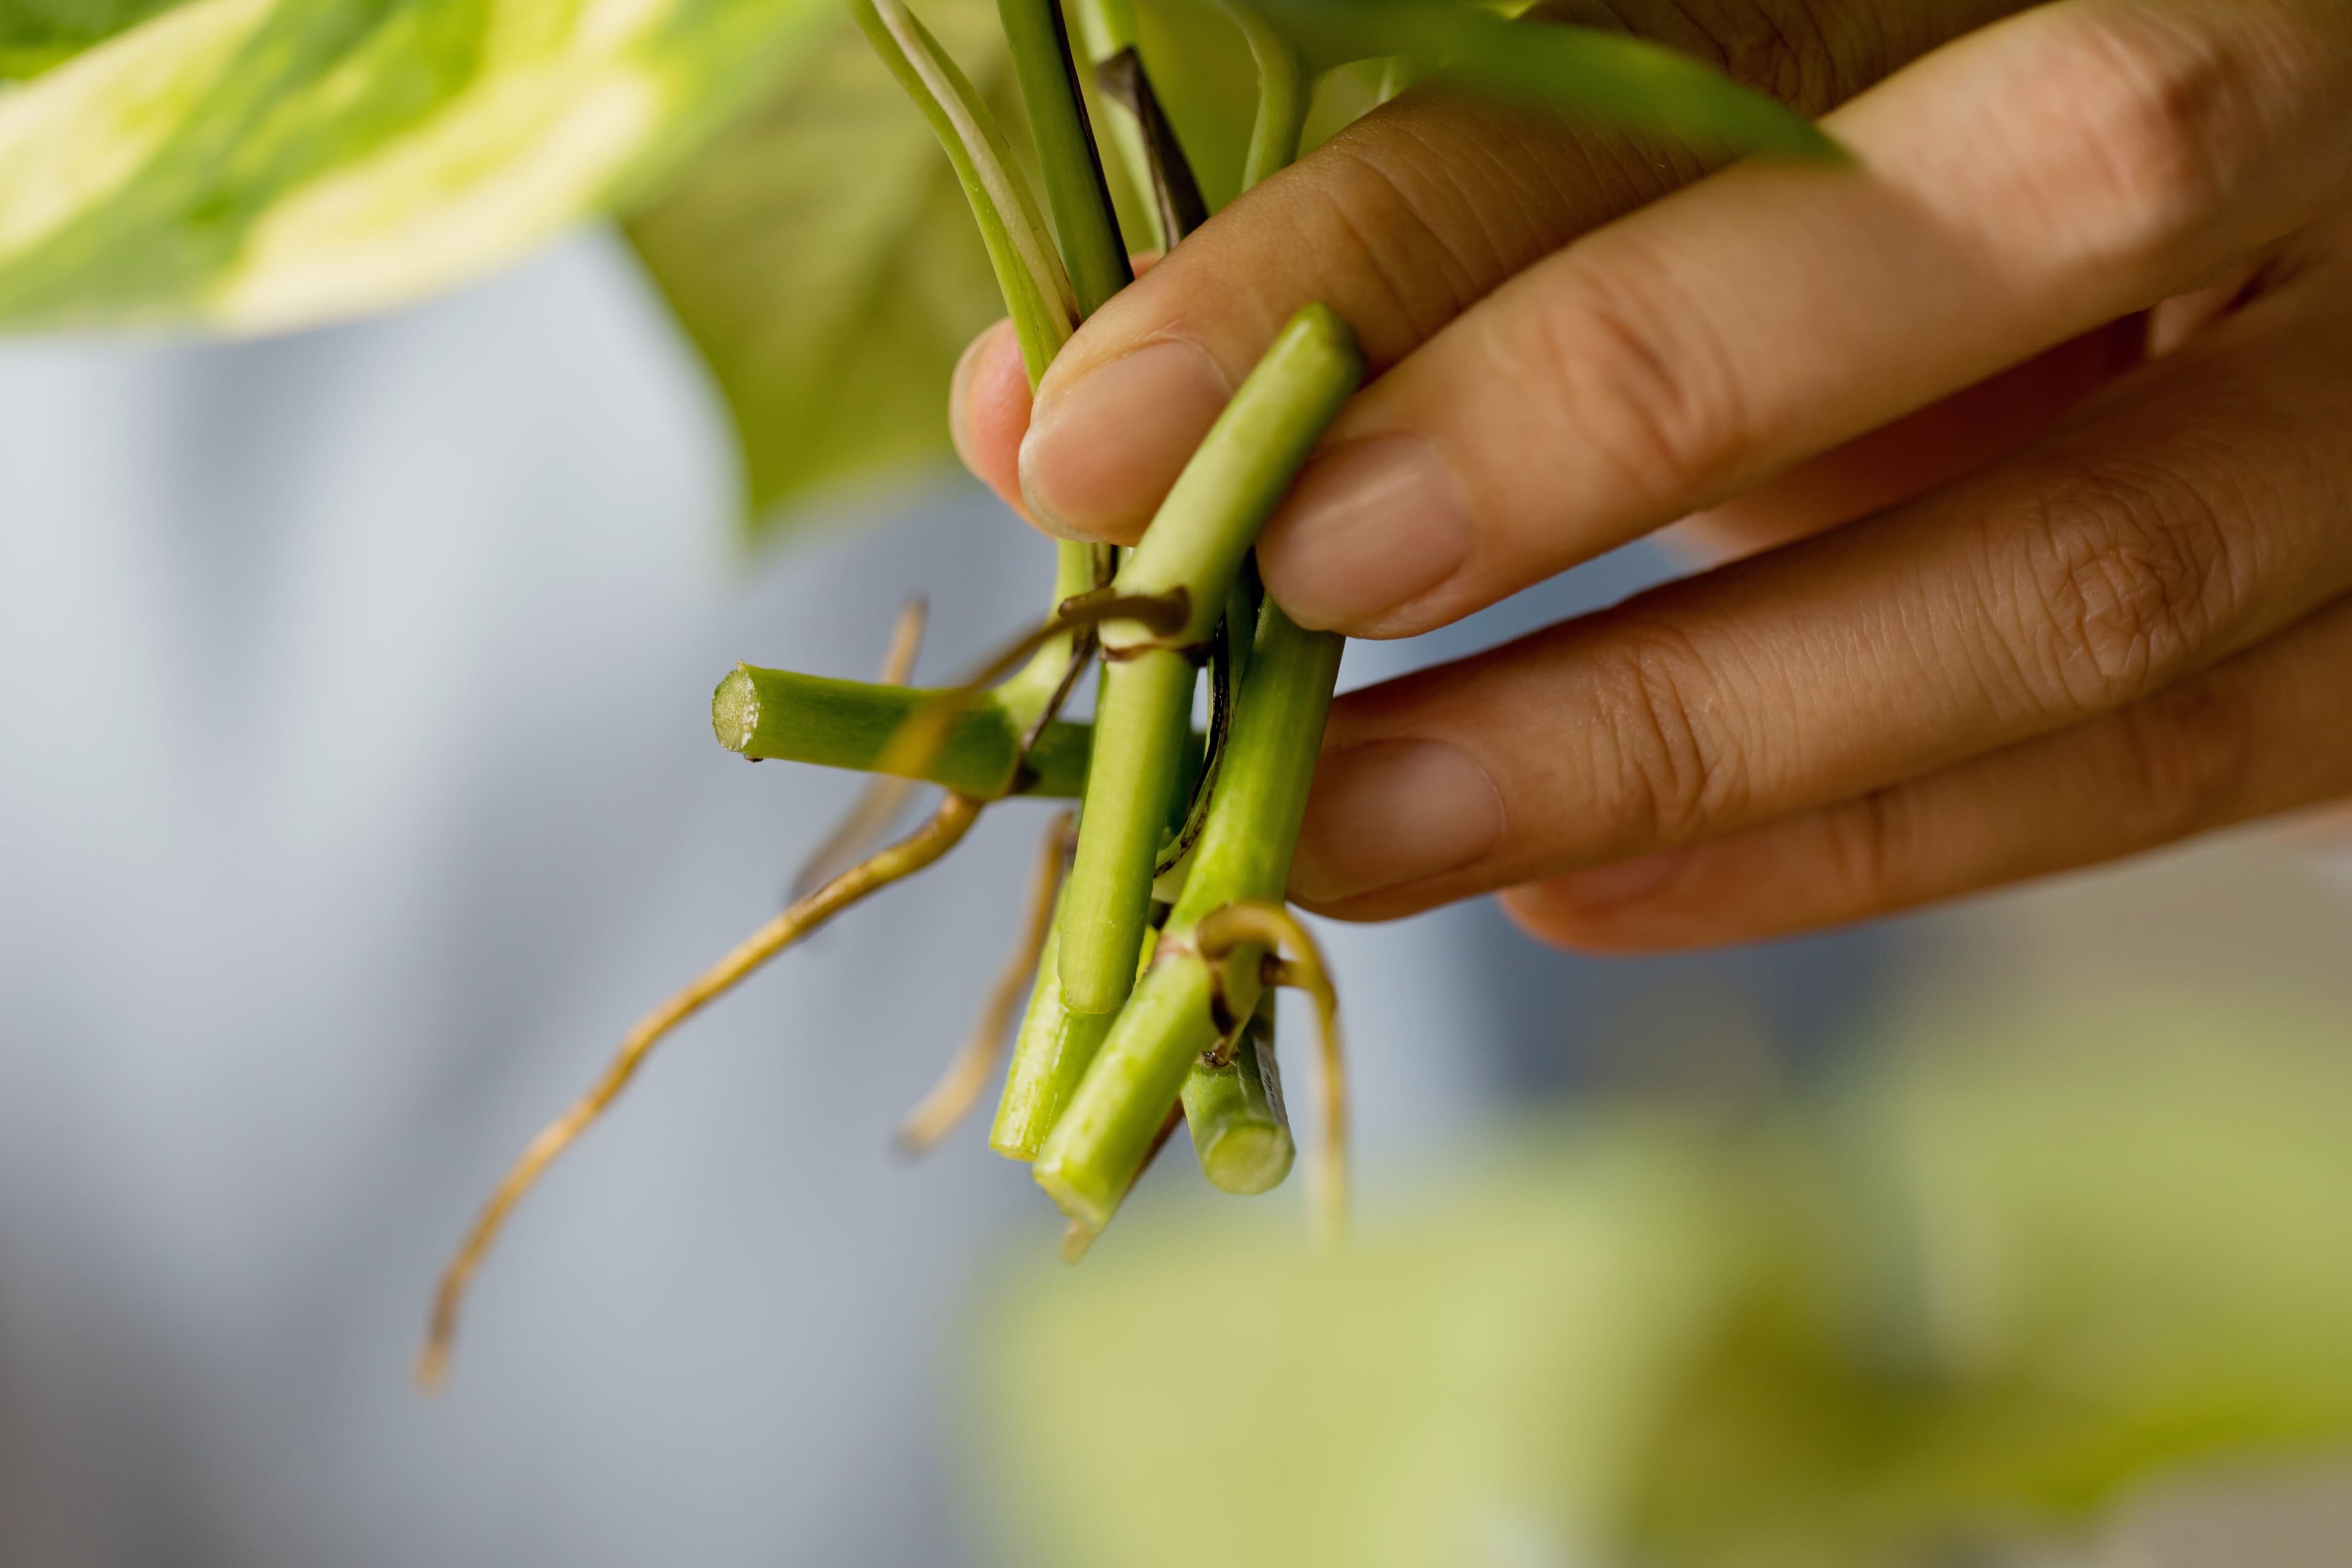
We all need someone to lean on from time to time, and your plants are no different. Does your plant have that support already, but doesn't seem to be very happy with it? Then we have THE do it yourself you need! We think this DIY is really useful for all climbing plants. Not only will the plant grow faster and higher, but the leaves it creates will also grow much larger because of the contact between aerial roots and the moss. When the plant is a climber by nature it will be very pleased with this homemade Spaghnum Moss pole to grow against.
Why a DIY moss pole?
Of course, it is also an option to simply purchase a climbing pole. We also have several ready-to-use ones in our shop! These also work great and sometimes may even look more attractive. However, there are some very positive benefits to this moss pole, namely: a Sphagnum moss pole plays a key role to meet the humidity need of the plant by holding enough water to provide humidity for the plant, it will help manage your climbing plants and it also makes it possible to propagate your plants by using the air layering method. The Sphagnum moss just really allows for root attachment which strengthens the plant to grown faster and much larger leaves. Isn’t that what everyone wants? Another plus is that you can let this moss pole grow along with the plant so that you do not immediately have an oversized one standing next to your (baby) plant.
What do you need to make your own moss pole?
For this Do It Yourself, you don’t need much. These are the things you do need:
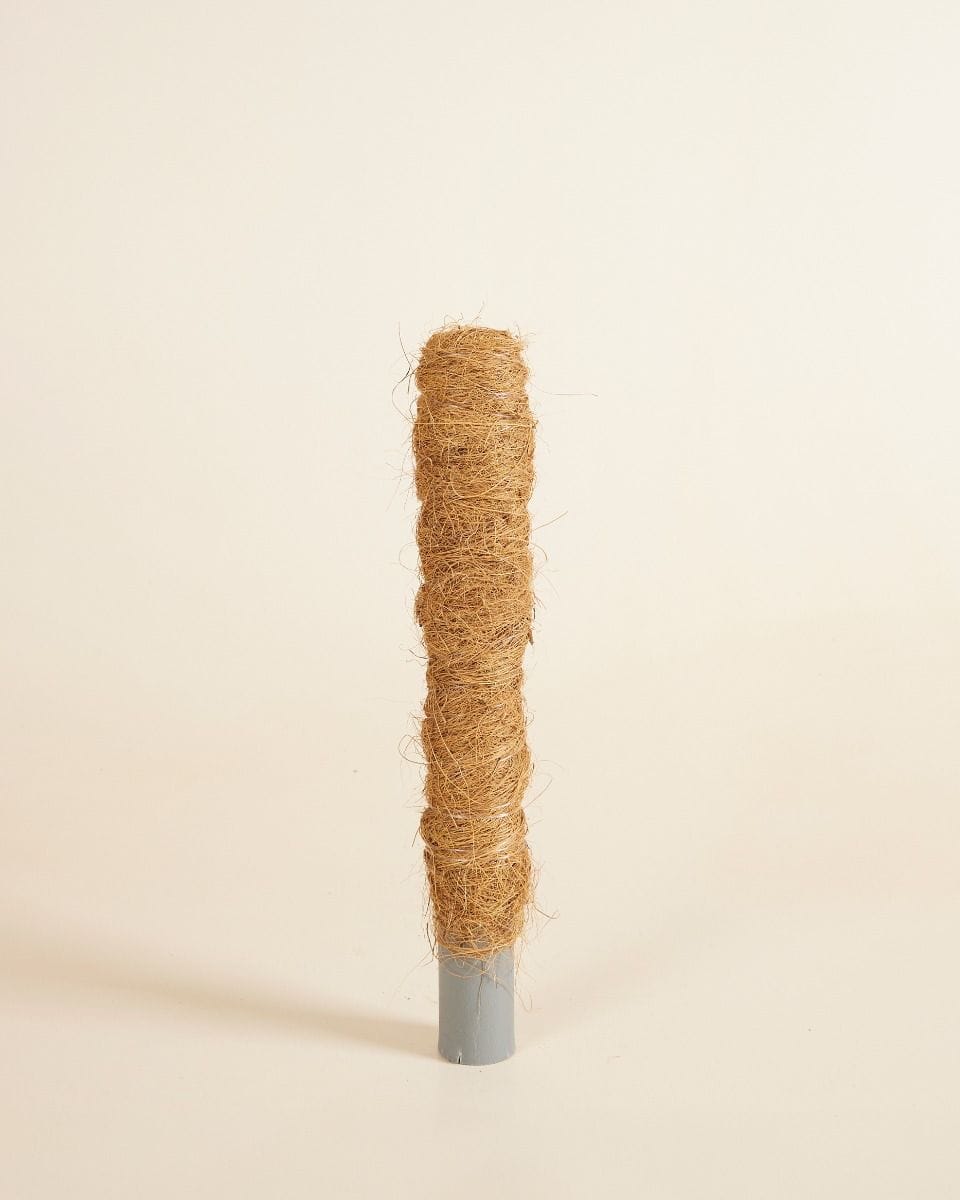
- Sphagnum moss
- Glass straw / PVC pipe (with glass or PVC the moss will not go mouldy)
- Invisible thread
- Scissors
The steps to follow when creating your own moss pole!
Step 1: let’s get started!
Put the straw in the potting soil next to the plant. Then see where the moss should end up. This so you know to where to wrap the moss.
Step 2: Spaghnum moss
Have a potting tarp or, for example, a garbage bag ready to work on. Then lay out your Spaghnum moss on it.
Step 3: wrapping time!
Hold a piece of moss around the straw, each time so much that you can hold it securely, and secure it with invisible thread. (Tip: use damp moss)
Step 4: Tighten/tie
Thighten or tie the tread around the bottom and cut it off.
Step 5: ready to guide your plant!?
Push the moss pole into the soil next to the plant. With a larger moss pole, for a larger plant, you may really have to repot the plant when you want to add the moss pole to the plant.
Tip: keep the moss moist
Spray the moss to help your plants thrive at their best! Keep doing this from time to time!
Now your plant can definitely shine!
Now that your own moss pole is finished, it is certain that your plant will shine. We believe your plant will thrive for years to come. Remember to keep the moss moist, always move the moss pole along and let it grow with your plant. We would really love to see your creations! Share your creations with us by using: #DIYPLNTS or mention @PLNTS_com or @BabyPLNTS_com.
Let’s do this!


Lisa
Vi presentiamo Lisa: la nostra appassionata di piante! Con le sue foto e il suo estro creativo, dà vita alla gioia delle piante. Preparatevi a ricevere le sue newsletter per rallegrare la vostra giornata. È qui per ispirare il vostro viaggio tra le piante!
agosto 06, 2023